
Subject
Name one object: a treasure chest, robot mascot, sneaker, potion bottle, helmet, chair, or character bust.
Text to 3D AIPrompt to 3DGLB export
Describe one clear object, set the material and style, then open the 3D editor with the prompt preserved. This path is best for game props, stylized characters, product concepts, and early 3D exploration.
Your prompt opens in the Text to 3D editor so you can adjust settings before generation.
Prompt Structure
Keep the prompt specific. Avoid asking for a full room, full landscape, or multiple unrelated objects in one generation.
Name one object: a treasure chest, robot mascot, sneaker, potion bottle, helmet, chair, or character bust.
Add silhouette guidance such as chunky, rounded, front view, centered, symmetrical, simple, or no thin parts.
Describe visual finish: glossy ceramic, matte plastic, bronze trim, stylized game prop, soft vinyl, or hand-painted texture.
Specify the intended application: a game prop, 3D printable toy, product mockup, mascot character, or design prototype.
Prompt Examples
Use these as starting points, then make the subject and material match your idea.
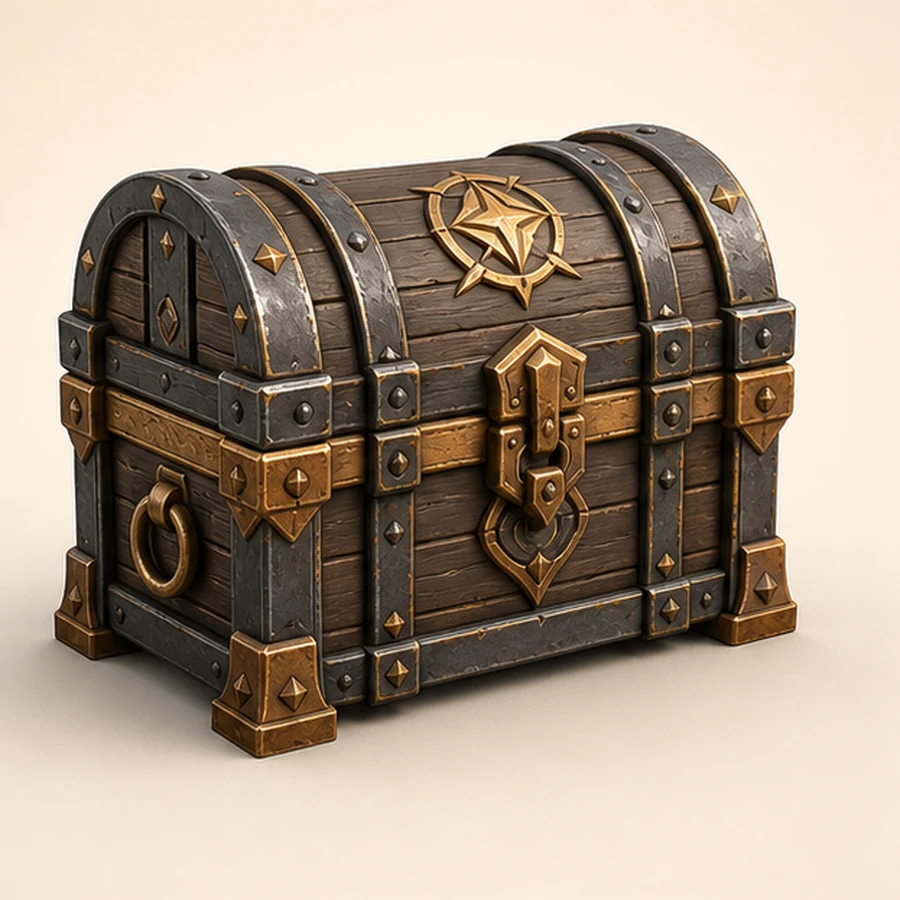
A stylized treasure chest game prop, chunky silhouette, bronze trim, hand-painted texture, front view.
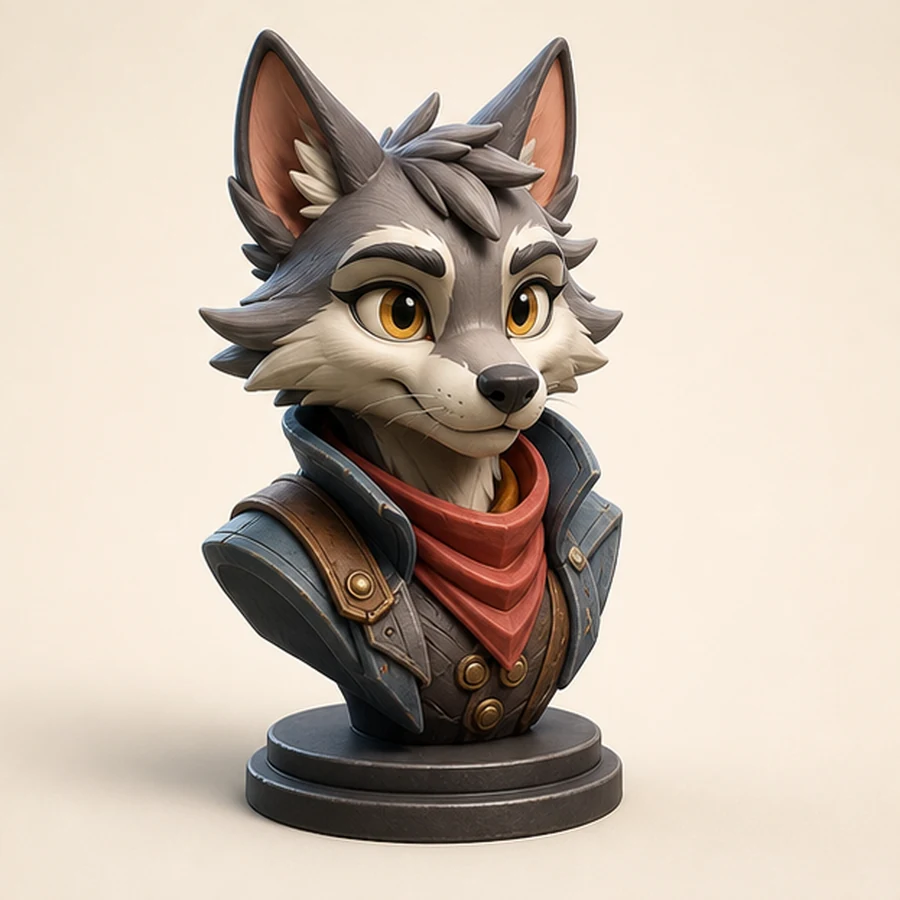
A friendly mascot character bust, large eyes, smooth vinyl material, centered front view.
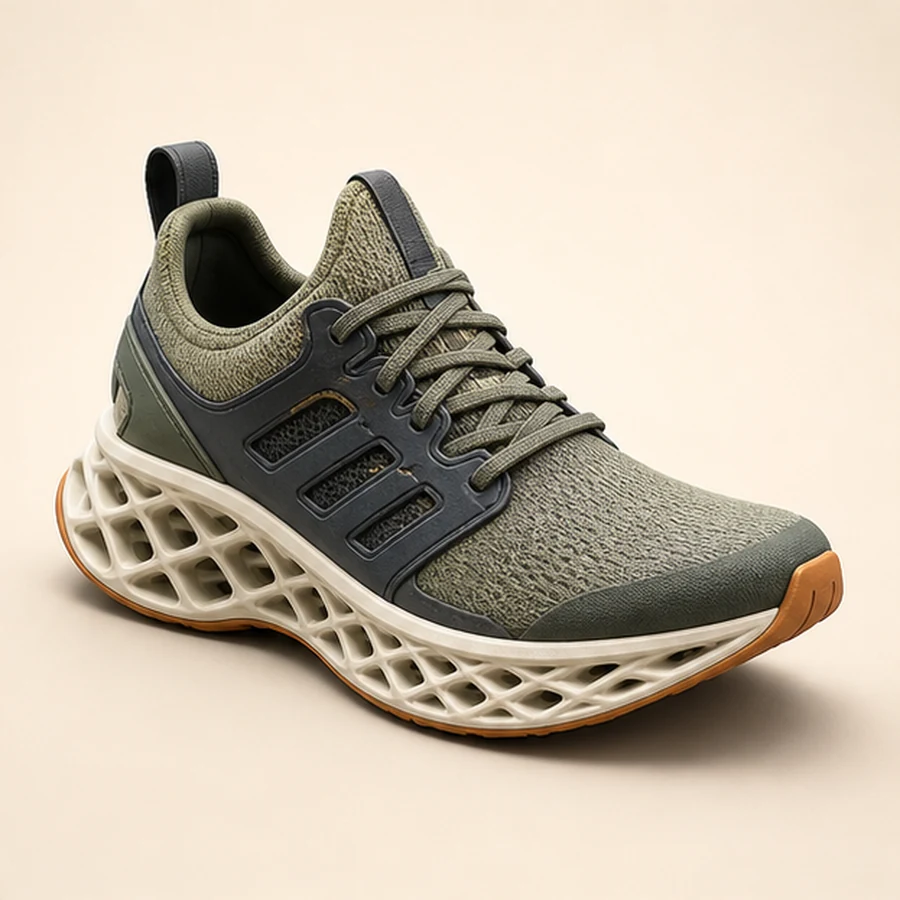
A clean sneaker product model, modern sole, matte white material, studio lighting, isolated.
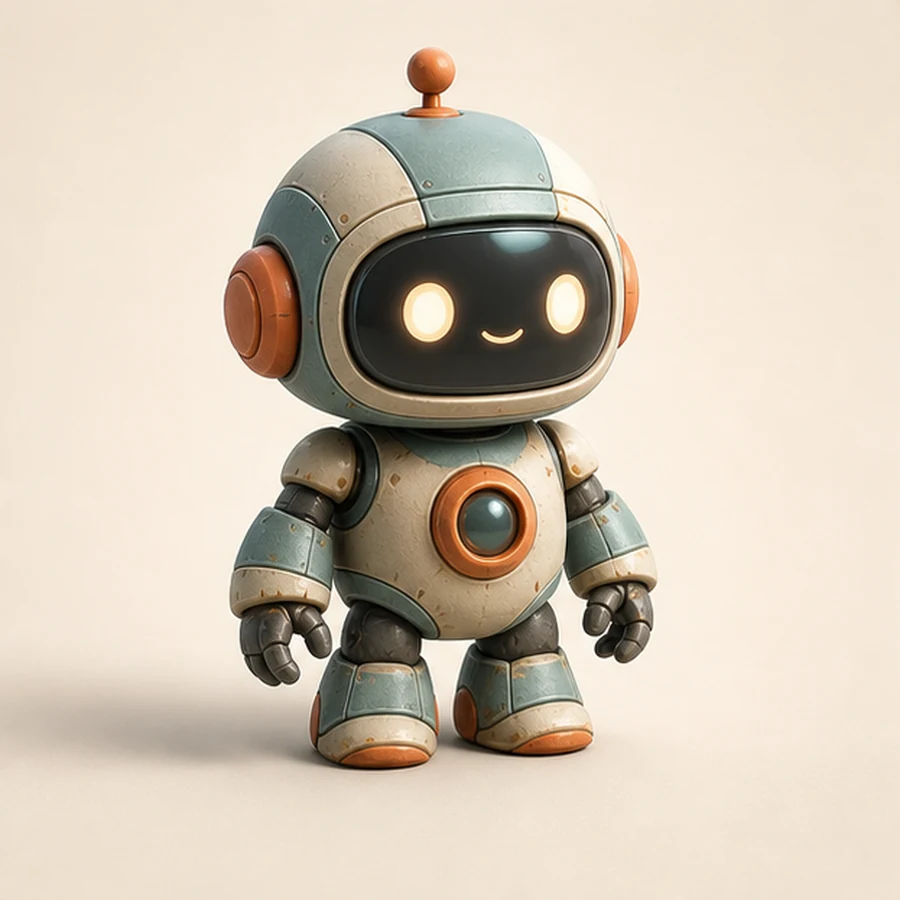
A cute 3D printable toy robot, simple rounded shapes, no thin parts, white background.
FAQ
A good text to 3D prompt describes one object, a clear silhouette, material, style, view angle, and intended use case.
Text to 3D is better for new ideas and rough concept exploration. Image to 3D is better when you need the result to follow a specific source object.
Text to 3D output can be exported for Blender, but it should be inspected and refined before final use.
Yes. Text to 3D is the prompt-first path for an AI 3D model generator. Describe one object, material, view, style, and use case, then inspect the generated model.
Use simple props, characters, toys, product shapes, or environment objects with a clear silhouette. Avoid full scenes when you want a cleaner first 3D model.
Start with a focused object prompt and refine after inspecting the first result.